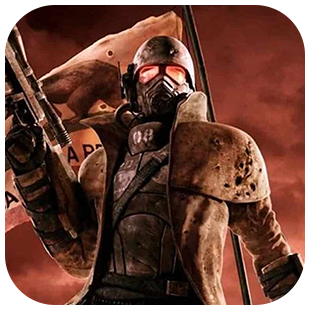
This guide will explain the perks, traits, armors and weapons necessary to get the most out of heavy ballistic weapons, while also providing the player with incredible survivability during battles.
Quick notes and tips before we get into the build:
- All DLCs recommended. As with most other builds, to release its maximum potential, all DLCs are needed. However, the Lonesome Road DLC is the most impactful, so if you can only buy one DLC, buy Lonesome Road.
- No Heavy Weapons skill. Fallout: New Vegas doesn’t have a dedicated “Heavy Weapons” skill. Instead, the weapons skills used are the “Guns”, “Explosives” or “Energy Weapons” skills. This guide will focus on the first of the three.
- Fully-Automatic weapons. The weapons that this build utilizes are characterized by high fire rates, high spread, high strength requirements and high ammo consumption. Regular visits to merchants to restock on ammo are recommended.
- Surviving through high-HP. This build is partially designed around survivability. The heavy nature of the weapons combines well with high-HP builds because of the inability to quickly peek out from behind cover and fire off a couple of shots, which is how most other builds avoid death.
- HP Regen. This build has a large focus on HP regeneration. With this build the player can regenerate almost 300HP per in-game hour.
- No critical hits. Due to the low / non-existent Critical Hit multiplier on fully automatic heavy weapons, critical hits are not a priority.
Starting Stats
S.P.E.C.I.A.L.
The build requires high HP and its weapons have high strength requirements so having high Strength and Endurance stats is essentially mandatory.
These are the recommended SPECIAL stats for this build:
| Strength | 9 |
| Perception | 5 |
| Endurance | 10 |
| Charisma | 1 |
| Intelligence | 9 |
| Agility | 5 |
| Luck | 1 |
The high Strength and Endurance will result in high HP, meeting the requirements for most weapons as well as the ability to get the highest possible number of cybernetic implants.
S.P.E.C.I.A.L. Implants
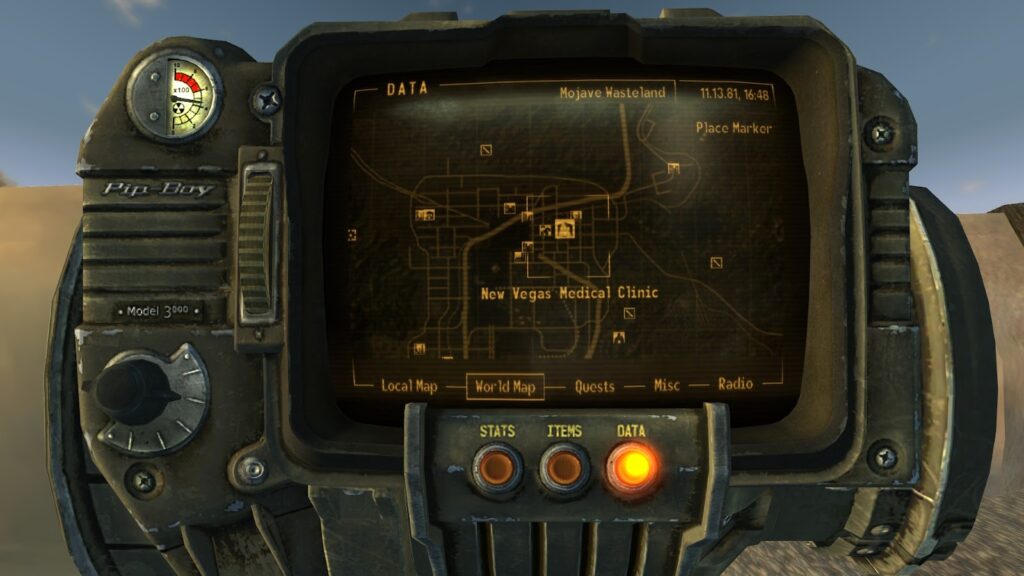
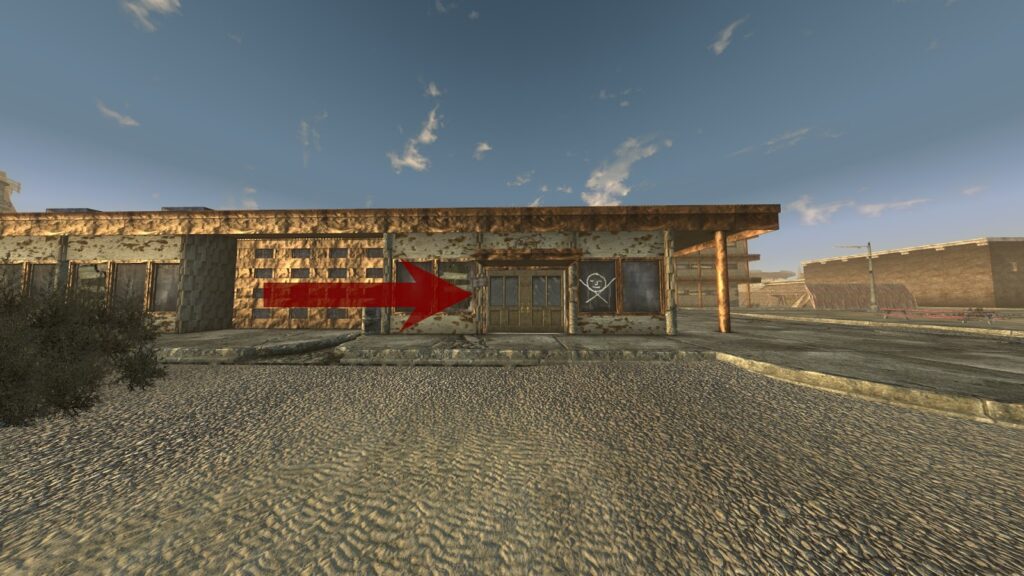
Note: These special stats are not final. To get the most out of this build, you will have to buy 2 implants from Doctor Usanagi, located at the New Vegas Medical Clinic. These two implants are the Strength and Intelligence implants. Together, they will cost you 6000 caps.
Skills
For your tagged skills, we recommend the following:
- Guns – The most important skill for this build. Heavy weapons have high skill requirements and benefit a lot from having a high weapons skill.
- Repair – Heavy weapons fire many times a minute, and for this reason, degrade quickly. Having a high repair skill will ensure that you can keep them in great condition.
- Barter – The high amount of ammunition consumed by heavy weapons leads to increased spending on ammunition. To offset these costs, a high barter skill is recommended. Alternatively, Speech is a great alternative, as it allows the player to pass many Speech challenges throughout the game.
Traits
The traits recommended for this type of build is a fairly controversial topic in the community. One trait is obvious, the second is hotly debated.
Hot Blooded (Old World Blues DLC required) – The 15% damage boost when under 50% health is incredibly useful, thanks to the low base damage of most heavy weapons. The penalties to Perception and Agility are negligible.
Fast Shot versus Trigger Discipline
This is the controversial one- These two traits are both incredibly useful to Heavy Weapons builds.
Fast Shot increases fire rate by 20% (drastically increasing your damage output) but also increases weapon spread by 20%, amplifying one of the greatest weaknesses of Heavy Weapons: their inaccuracy.
Trigger Discipline does the opposite. It decreases your fire rate by 20%, but also decreases weapon spread by 20%. This decreases your damage output by a considerable margin, but also greatly improves your chance to hit, especially while fighting smaller enemies or enemies at a distance.
The choice is mostly up to the individual and will reflect how you play. Trigger Discipline will allow you to stay further away from enemies and decrease the number of times that you get hit. On the other hand, Fast Shot will make some heavy weapons act in a shotgun-like fashion, turning every combat encounter into a close-range bloodbath.
Perks
These are all of the necessary perks, listed in the order in which you should acquire them as you level up.
All perks, other than Educated, can be acquired whenever you wish as only the Educated perk has certain advantages when taken earlier. With every level you don’t have Educated, you miss out on 2 skill points. If you can’t take a different perk because you lack the necessary skills, just take it another time.
| Perk Name | Requirements | Benefits |
| Rapid Reload | Level 2, Agility 5, Guns 30 | +25% Reload Speed |
| Educated | Level 4, Intelligence 4 | +2 Skill Points per Level |
| Confirmed Bachelor / Black Widow | Level 2 | +10% Damage against male human characters. Additional dialogue options with male human characters. |
| Lady Killer / Cherchez La Femme | Level 2 | +10% Damage against female human characters. Additional dialogue options with female human characters. |
| Toughness | Level 6, Endurace 5 | +3 DT per rank |
| Stonewall | Level 8, Endurance 6, Strength 6 | +5 DT Against Melee and Unarmed attacks. Cannot be knocked down during combat. |
| Sneering Imperialist | Level 8 | +15% Damage and +25% V.A.T.S Accuracy against raiders and tribals |
| Life Giver | Level 12, Endurance 6 | +30 HP |
| Fast Metabolism | Level 12 | +20% HP restored from Stimpacks |
| Adamantium Skeleton | Level 14 | -50% Limb Damage taken |
| Nerd Rage! | Level 10, Intelligence 5, Science 50 | +15DT While under 20% HP. |
| Chemist | Level 14, Medicine 60 | Doubles the duration of all consumable items (including Stimpacks and RadAway in Hardcore mode) |
| Implant GRX | Level 30, Endurance 8 | Non-addictive Turbo injector. Lasts 2 seconds on rank 1, 3 seconds on rank 2. |
| Ain’t Like That Now | Level 50, Low Karma | Karma reset to 0. Immunity to Critical Hits, +20% Attack Speed, +25% AP Regeneration Rate. |
Implants
Unlike other builds, implants are essential for this build to function well. It benefits most from the 2 special implants available in the base game- The Phoenix Monocyte Breeder and the NEMEAN Sub-dermal Armor.
- Phoenix Monocyte Breeder – Regenerates 1HP every 10 real-life seconds. Waiting for 1 in-game hour restores 12HP. Useful for saving stimpacks, as you can just wait for several in-game days with the wait function.
- NEMEAN Sub-dermal Armor – +4 Damage Threshold. Pretty much a requirement to mitigate damage from creatures like Deathclaws in the late-game.
All of these implants can be bought from Doctor Usanagi, (see the S.P.E.C.I.A.L Implants section for more info).
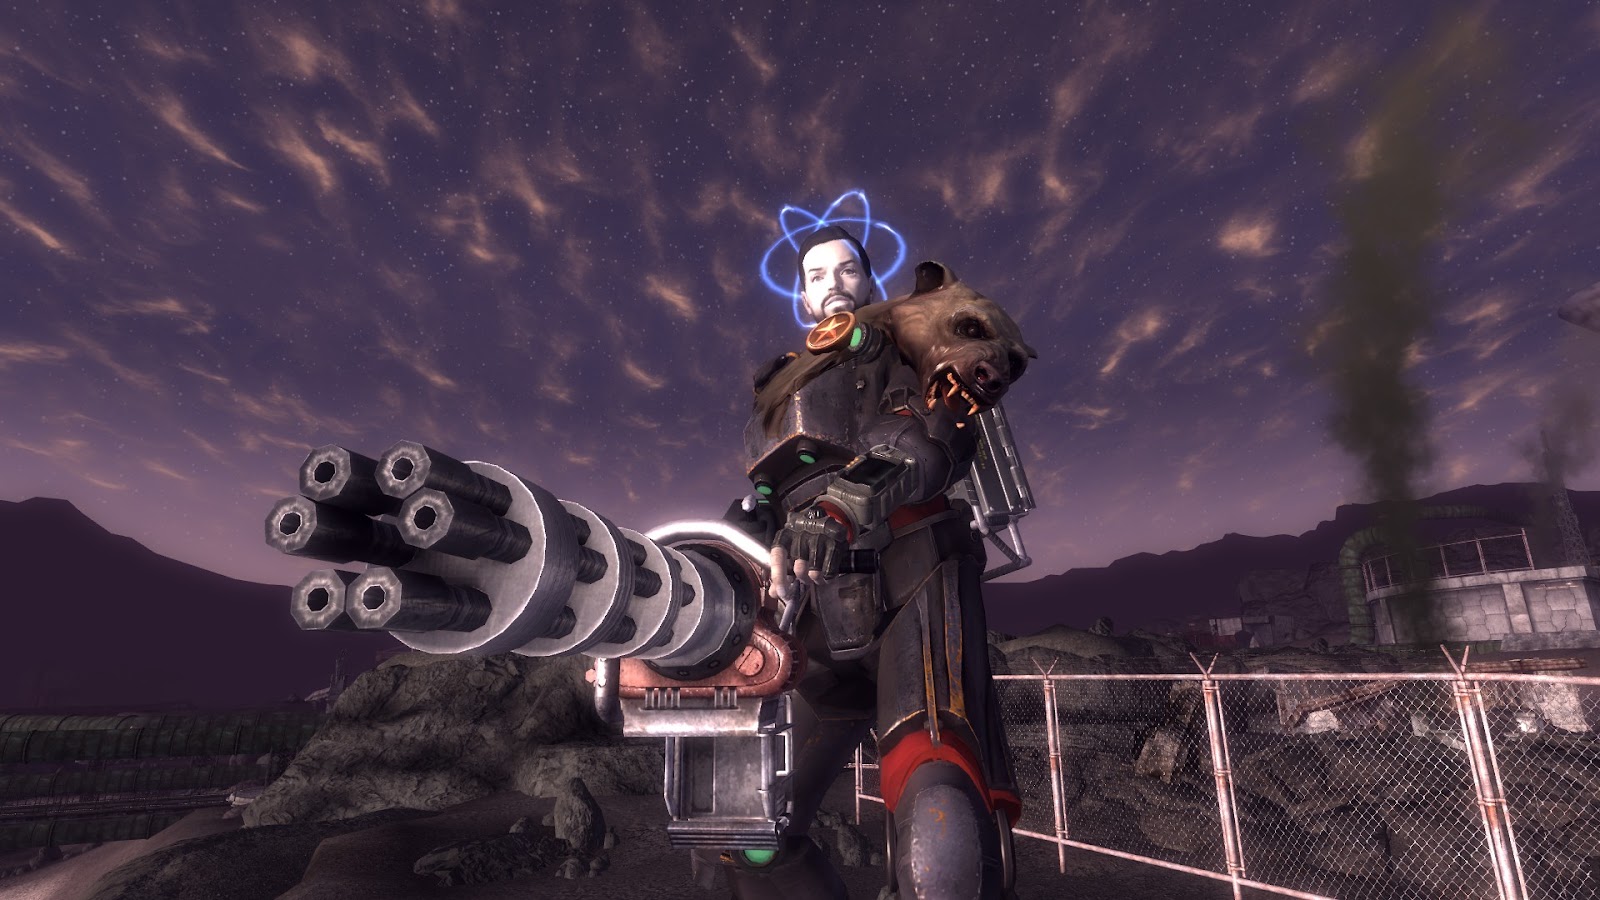
Weapons
Unlike many other builds, secondary weapons or melee weapons aren’t all that necessary. This is due to the inherently large magazine size of the usual primary weapons and the multi-functional nature of weapons like the CZ-57 Avenger.
The available primary weapons include: The K-9000 Cyberdog Gun, FIDO, the CZ-57 Avenger and the Shoulder Mounted Machine Gun.
For more details, check out the specific guides for each weapon. For a basic comparison, see the table below.
| Name of the weapon | K-9000 Cyberdog Gun | FIDO | CZ-57 Avenger | Shoulder Mounted Machine Gun |
| Pros | – Cheap Ammunition- Easy Acquisition- Medium/High damage- Amazing modifications | – Highest single shot damage | – Highest rate of fire- Highest magazine size- Highest overall DPS- No DLC required- Wide range of supported ammo types | – Cheapest ammunition- Most efficient use of 10mm ammo in the game- Great overall stats |
| Cons | – Low base damage- Doesn’t excel in any one aspect- High Spread | – Expensive ammunition- High Spread | – The 120 round magazine doesn’t last long in a fight- Low base damage that leads to problems with fighting heavily armored opponents | – Expensive to repair- Expensive modifications- Cannot crit at all |
| Quick Analysis | Great as an early game weapon, or as a substitute for your main weapon if you run out of ammo. | Arguably a downgrade to the upgraded K-9000, but works fairly well against armored opponents | By far the best weapon in the entire game for fighting enemies that aren’t heavily armored. A must-have for this build. | A great general purpose weapon to keep around for fighting weaker enemies or for saving your 5 mm ammunition. |
| Links for further information | Weapon Guide Weapon Mods Guide | FIDO upgrade schematics guide | Weapon Guide | Weapon Guide |
Armor
The armor used for this build is very special, as it has been specifically selected to pair well with the Monocyte Breeder implant, greatly improving its effectiveness at regenerating the player’s HP.
| Armor Type | Armor Suit | Headgear |
| Armor Name | Scorched Sierra power armor | Atomic-valence tri-radii-oscillator |
| Reason for choosing | Has one of the highest DTs in the game, as well as the most powerful HP regen effect of all armors, at a whopping 240 HP regenerated every in-game hour. | Stacks well with our other choices, as it passively regenerates even more HP. |
| Quick Analysis | Without a doubt one of the best armor suits in the entire game. The HP regen effect is powerful enough to offset many damage over time effects, such as fire or venoms. | A great piece of headgear that regenerates the player’s HP in addition to providing top-class DT. |
| Links for further information | Armor guide | Headgear guide |
All in all, the armors and the Monocyte Breeder combined allow the player to passively regenerate 276 HP every in game hour (120 seconds in real life).
Final Tips
This build, as do all others, comes with a specific playstyle that will allow you to make the most out of its advantages.
- Food. Food items, such as the MREs from the Lonesome Road DLC, will allow you to regenerate large amounts of HP during a fight, especially when coupled with our implant and armor choices.
- This can be further improved by raising your Survival skill and by purchasing the Y-7 Implant from the Sink Autodoc after finishing the quest Influencing People. Should you follow all of these tips, you should be able to out-heal most of the damage you take during a fight.
- Med-X. Med-X is an addictive drug that substantially decreases the amount of damage taken. This pairs incredibly well with this build, as it will make it much easier to outheal the damage you take with your passive HP regen and (possibly) food/medicine.
- Buffout. Buffout is an addictive drug that substantially increases the amount of HP the player character has. This synergises with the HP regeneration, damage resistance after a short time, Med-X and high DT, making the player nearly invincible outside of fights with dangerous enemies like Legate Lanius or Rawr.